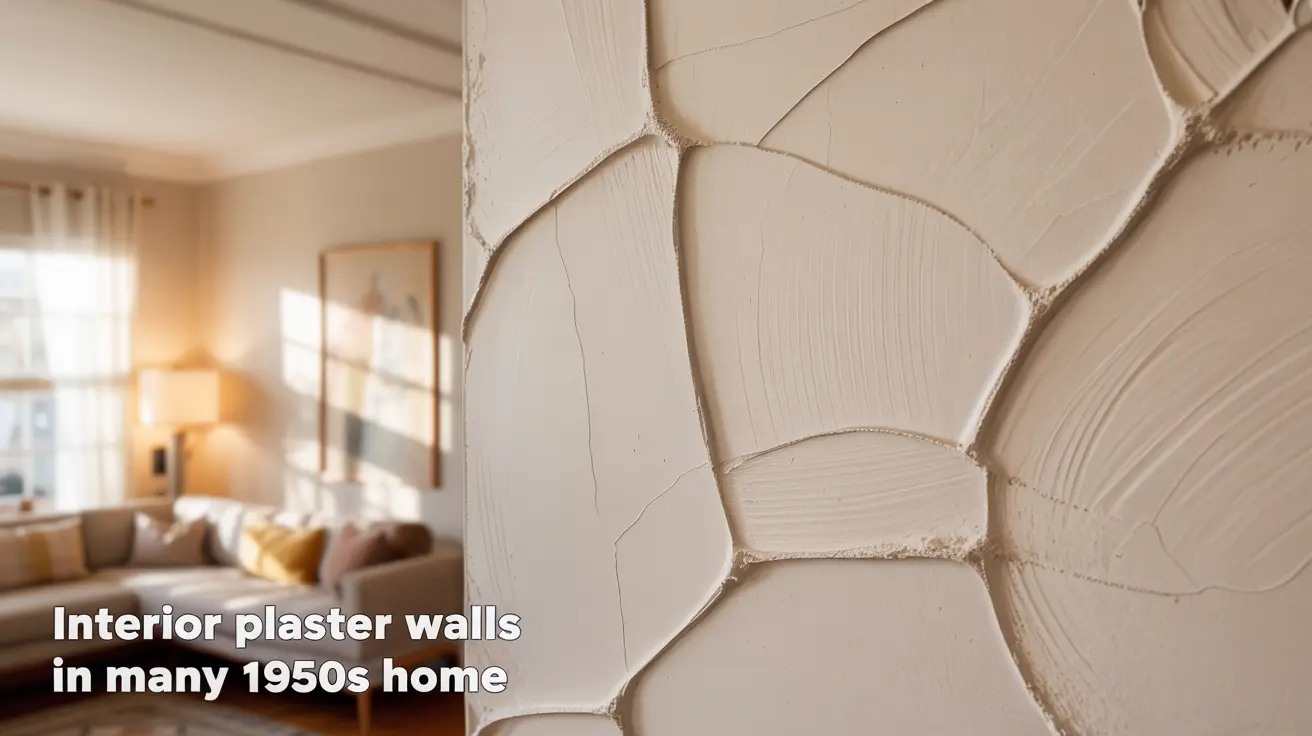
A lot of 1950s interiors were not built with modern drywall. Many used a layered system made from lath plus plaster. The base is often gypsum lath also called rock lath. Some houses still have wood lath, especially in earlier builds or certain regions. You may also spot metal lath in patches, corners, or curved spots.
The simple wall stack you are looking at
Picture three parts working together. One holds the structure. One builds thickness. One makes it smooth.
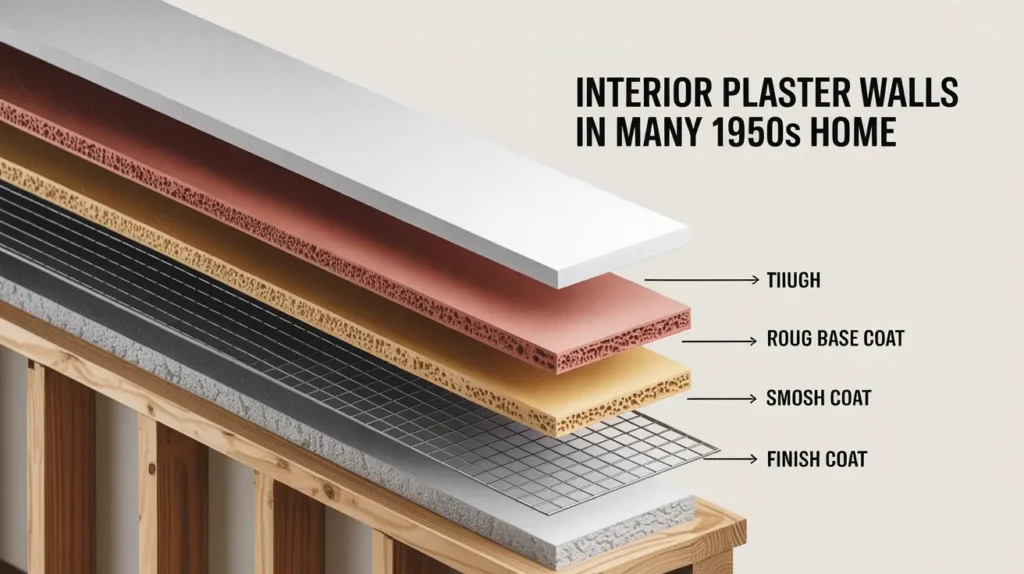
The base layer that holds the plaster
In many mid century homes, the base is rock lath. It looks like smaller wall panels with a paper face. The plaster grabs this surface as it sets. Older styles use wood lath, which is thin wood strips. Plaster squeezes through the gaps and forms plaster keys behind the strips. Those keys help lock the wall in place.
Some areas use expanded metal lath. That is more typical around repairs, arches, and tricky edges.
The thick build layer
Next comes the base coat, often called the brown coat. This layer carries most of the thickness and strength. It often includes sand and sometimes lightweight aggregate like perlite. The texture is usually rough and gritty.
The smooth top layer
The final skin is the finish coat. It is thinner and smoother than the base. Many finishes use lime for workability with some gypsum to help it set. Over decades, the surface can look chalky or slightly uneven under bright side light.
Two coat and three coat plaster, and why it matters
Not every old wall has three layers. Many 1950s jobs aimed for speed and consistency. Over gypsum lath, crews often used a two coat approach: a base layer, then a finish layer.
Three coat work is more typical in older construction and some high end rooms. That system has a scratch coat, then a brown coat, then a finish coat. Thickness is often the easiest clue. Check at an outlet edge or a door opening. A deeper wall face can hint at more layers.
How to identify what you have with a small check
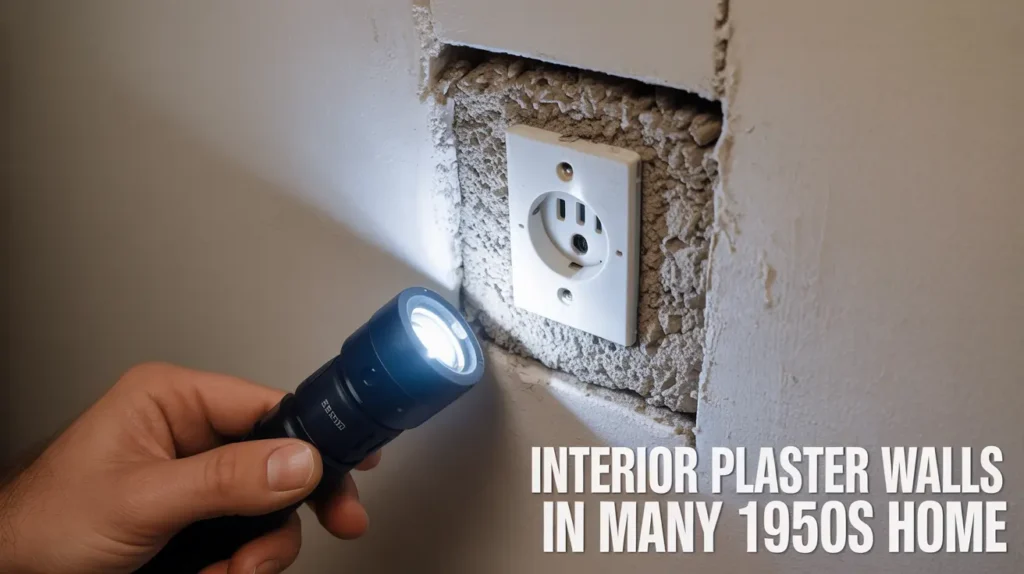
A tiny peek is enough. Choose a closet, behind a vent cover, or an existing chipped spot.
• Paper faced panel behind the plaster often means gypsum lath or rock lath
• Thin wood strips behind the plaster points to wood lath
• Wire mesh points to metal lath
• A rough middle layer plus a smoother top layer points to base coat plus finish coat
For outlets, shut off the breaker first. Remove the cover plate. Use a flashlight to look inside. Keep the opening the same size unless you truly need more access.
Why these walls feel solid and quiet
Plaster systems have more mass than drywall. That weight can help with sound and a sturdy feel. The surface also handles small bumps better in many rooms.
Movement is the weak spot. Settling, door slams, and humidity changes can show up as lines and chips. That is normal for a house that has lived a long life.
What homeowners notice over time, and what usually causes it
Cracks that reappear after painting
Hairline lines often show near doors, windows, and ceiling corners. Repeating cracks can mean minor movement or a repair that never bonded well. A thin smear of soft compound can hide it for a while, then the line comes back.
Hollow sounding areas
A dull thud is fine. A hollow tap can point to delamination, where the top layer loosens from the layer beneath. That section may grow if it stays untreated.
Chips around outlets and trim edges
Edges take hits from furniture and daily use. Chips can expose the rough brown coat or even the lath underneath.
Dusty or chalky surface
Some finishes break down with age, moisture, or years of paint layers. If a wall leaves powder on your hand, paint may struggle to stick without the right prep.
Hanging heavy items feels tricky
Plaster behaves differently than drywall. Wrong anchors and over tightening can crack the surface. Heavy loads belong on studs whenever possible.
Crack repairs that last, without overworking the wall
Start with one question. Does the crack stay the same size, or does it widen and shift.
For small stable hairlines
Clean the line and remove loose bits. Open it slightly so the patch has room to grip. Vacuum the dust. Use a setting type patch material that cures hard. Smooth the surface, then sand lightly after it sets. Prime before paint so the sheen matches.
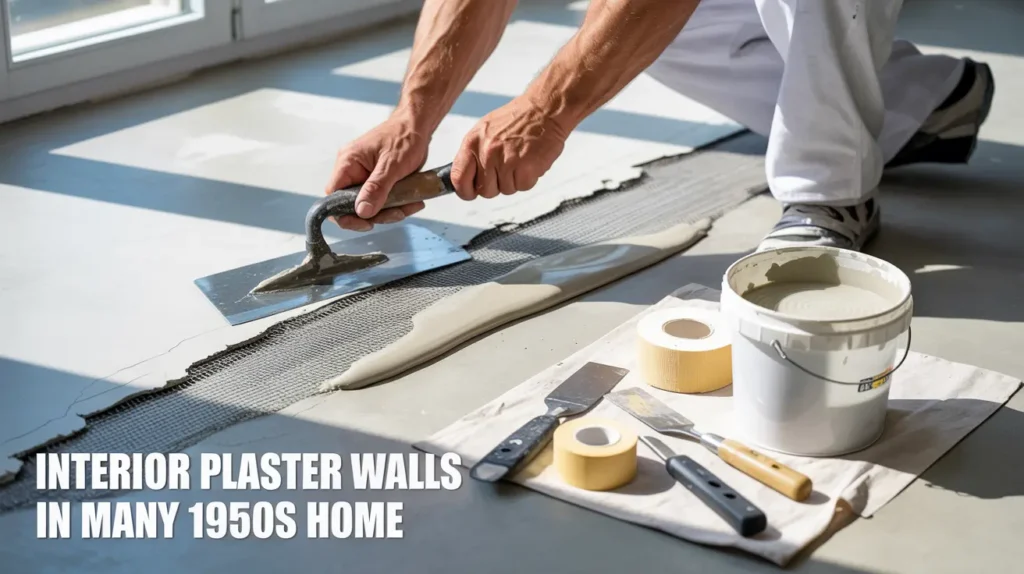
For cracks that keep returning
Reinforcement helps. A patch alone can fail if the wall keeps moving.
• Remove weak edges and dusty material
• Add a bonding layer if the base is powdery
• Embed fiberglass mesh over the line
• Feather the repair wider so the edge disappears
• Prime the repaired area before painting
If the line tracks along a door frame, check the trim and jamb. Loose wood can flex and print a crack into the wall again.
Loose plaster and hollow spots need reattachment
When a section moves under your hand, treat it as a bonding failure. Covering the surface will not hold.
Two typical approaches exist. One uses plaster washers to pull the loose area back. Another uses adhesive injection behind the layer. Either method aims to reconnect the plaster to the lath or base. Once stable, a skim repair blends the face.
If a large area sounds hollow, a pro inspection can save you time. It helps to know if the base is failing across a whole section.
Corner and edge repairs that look clean
Many mid century walls use corner bead at outside corners. If that bead loosens, the corner crumbles again and again.
A neat fix starts with clean edges. Cut back to solid material. Rebuild the shape with a firm patch material. Use a straight edge to keep the corner crisp. Sand lightly and prime before paint.
For baseboard chips, keep repairs tight. Big wide patches can show under sunlight that hits from the side.
Painting plaster without peeling or flashing
Paint issues usually come from surface prep, not the paint brand. Plaster can be thirsty, dusty, and uneven.
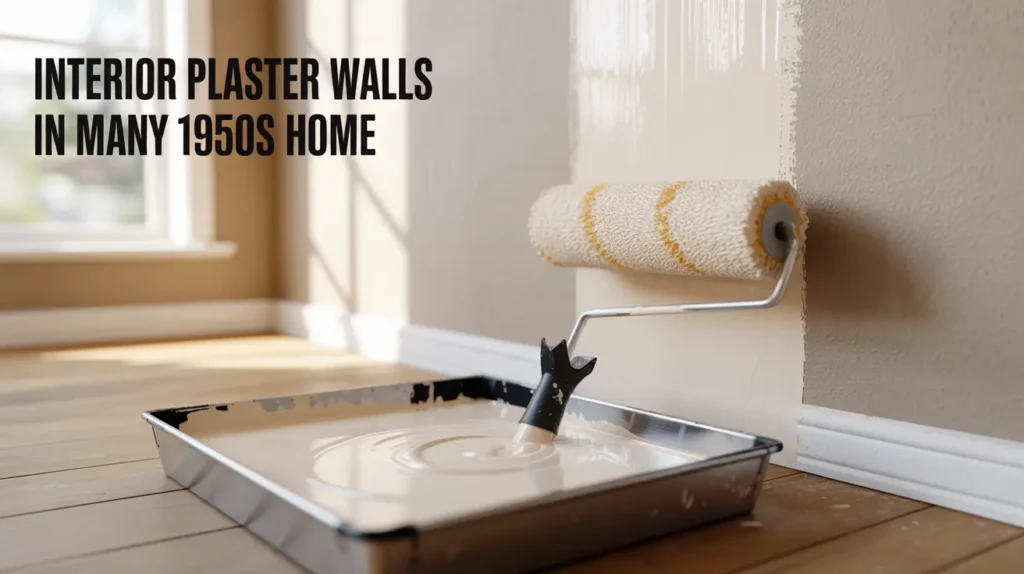
A solid workflow looks like this.
• Wash the wall and remove loose paint
• Repair cracks and chips fully
• Spot prime patched areas
• Seal the wall if it is chalky
• Paint with an interior wall paint that matches your sheen
If the wall has moisture marks, stop and find the source first. Paint will not fix water.
Hanging shelves, TVs, and cabinets the safe way
Studs are the best anchor point. Plaster thickness can confuse some stud finders. A strong magnet can help locate nails or screws near studs. Small test holes in hidden spots can also confirm placement.
For heavy items, aim for this setup.
• Pre drill to reduce cracking
• Screw into studs with the right length
• Tighten until snug, not crushed
• Use a mounting plate that spreads weight
When stud mounting is not possible, use anchors rated for thick walls. Test the method in a closet wall first.
What you may see during a remodel
Once a wall opens, the structure becomes obvious.
You might see:
• Panels of rock lath nailed to studs
• A rough sandy base coat
• A thin smooth finish coat
• Older patches that feel harder or softer than the surrounding wall
Take clear photos before removing more. Those images help match texture later.
Health and safety basics before sanding or demolition
Plaster itself is usually mineral based, like gypsum and lime. Older painted surfaces may contain lead. Some older coatings or patch materials can raise asbestos concerns. Sight alone cannot confirm either.
Testing is the smart move before major sanding or full tear out. Dust control matters too. Use proper protection and keep the work area contained.
Patch, skim, or replace, based on wall stability
Small damage with a firm base usually suits patching. A wall with many tiny flaws can look great after a skim coat. Large loose areas often need reattachment work, or partial replacement, before any finish.
Stability is the key test. Solid plaster can take repairs that last for years. Moving plaster needs bonding work first.
Quick answers people want before they start
Is plaster in 1950s homes the same as drywall
No. Many 1950s interiors used gypsum lath with plaster coats. Drywall became more common later.
Why do cracks show near doors and windows
Openings concentrate movement. Wood trim can flex. Settling can also show there first.
Can I paint right over old plaster
Yes, when the surface is clean and stable. Powdery walls often need a sealing primer first.
Can I hang a TV on these walls
Yes, but studs are the safest route. Thick wall anchors can work for lighter loads.