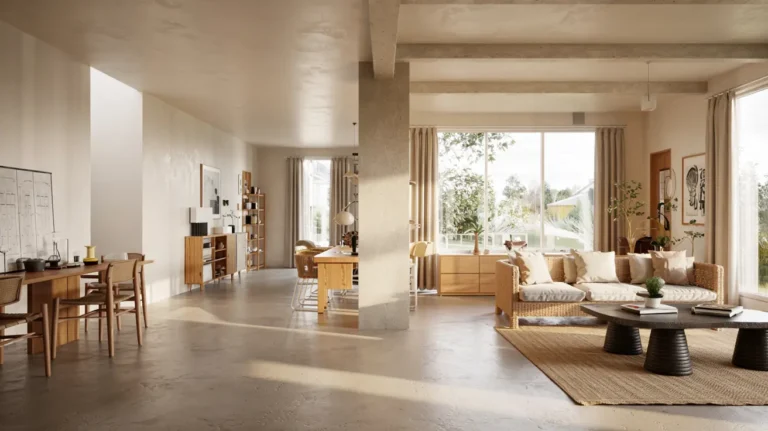
How to Draw home interior Design it is easier when you follow a simple order: plan the room, set perspective, build the walls, then add furniture and light.
Start with the goal of your drawing
First, decide what you want to show. Maybe it is a cozy living room. Maybe it is a bedroom layout. A clear goal keeps your sketch clean and focused. It also stops you from adding random items that do not help the scene.
Gather simple tools that make drawing easier

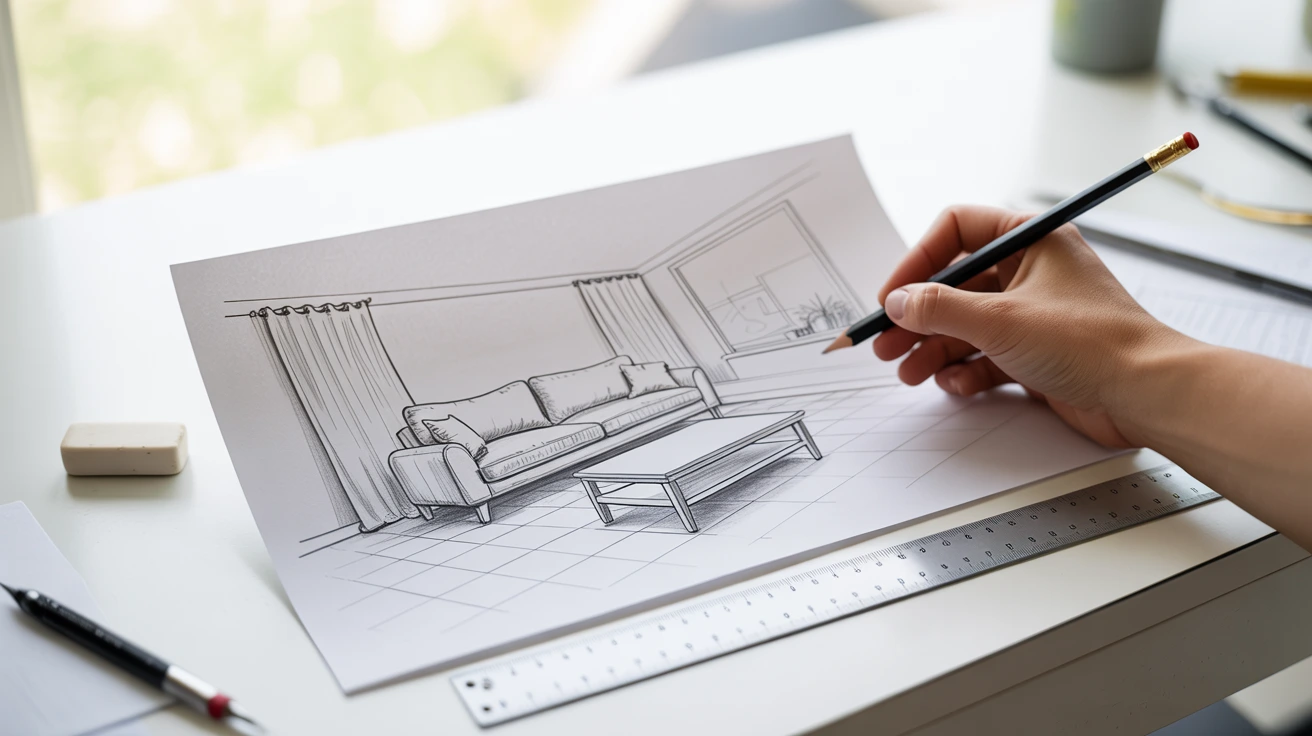
You do not need fancy supplies. A pencil, eraser, ruler, and paper are enough. Graph paper helps with scale. A fine pen can be used later for clean lines. If you draw on a tablet, use a perspective tool and a simple brush.
Measure the space, even if you guess
Most interior drawings fail because sizes feel wrong. A sofa looks tiny. A door looks too wide. Fix that early with basic measurement. If you know the real room, measure wall length and ceiling height. If you do not, pick a common reference, like a standard door. Build everything around that reference so the room feels believable.
Make a quick floor plan before you draw the room view
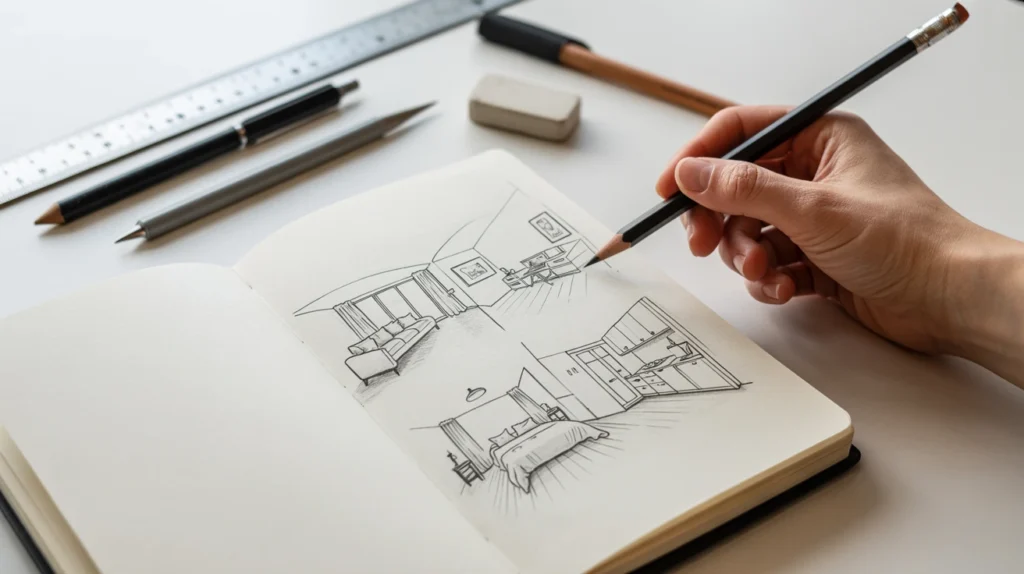
A floor plan is the fastest way to solve layout problems. Sketch the room shape from above. Mark doors and windows. Then place big furniture blocks. Keep walking space clear. A floor plan also helps you spot crowding before you start perspective drawing. This step saves time and stress later.
Common layout mistakes to avoid
Many beginners push all furniture to the walls. That often makes a room feel empty in the center. Another mistake is blocking pathways. Leave space to walk from the door to key areas. Also watch for awkward angles near door swings. Small fixes here make the final drawing look smarter.
Choose the best viewpoint for the room
Pick where the viewer stands. Imagine you are holding a camera. The viewpoint decides what walls you see and how deep the room feels. A corner view is popular because it shows two walls and gives strong depth. A straight wall view feels clean and simple.
Set the horizon line at a realistic height
The horizon line is your eye level. If you draw a room while standing, set it around chest height in the scene. If you draw while sitting, place it lower. When the horizon line feels right, the room looks natural. When it feels wrong, everything looks tilted.
Pick one-point perspective for simple rooms
One-point perspective works best when you face a wall straight on. Lines going back into the room aim toward one vanishing point. This method is great for beginners. It also works well for hallways, bedrooms, and simple living rooms.
One-point perspective steps
- Draw the back wall as a rectangle.
- Place a vanishing point on the horizon line.
- Draw light guide lines from wall corners to that point.
- Add the floor and ceiling lines using those guides.
- Keep your guide lines faint so you can erase them later.
Use two-point perspective for corner views
Two-point perspective fits most room sketches. You see a corner, so each wall moves away in a different direction. That means two vanishing points on the horizon line. This method makes drawings feel more like real photos.
Two-point perspective steps
- Start with a vertical line for the corner edge.
- Place two vanishing points far apart on the horizon line.
- Pull light guide lines from the top and bottom of the corner line to each point.
- Choose the room depth on both sides.
- Build walls, floor, and ceiling from those edges.
Build the room shell before furniture
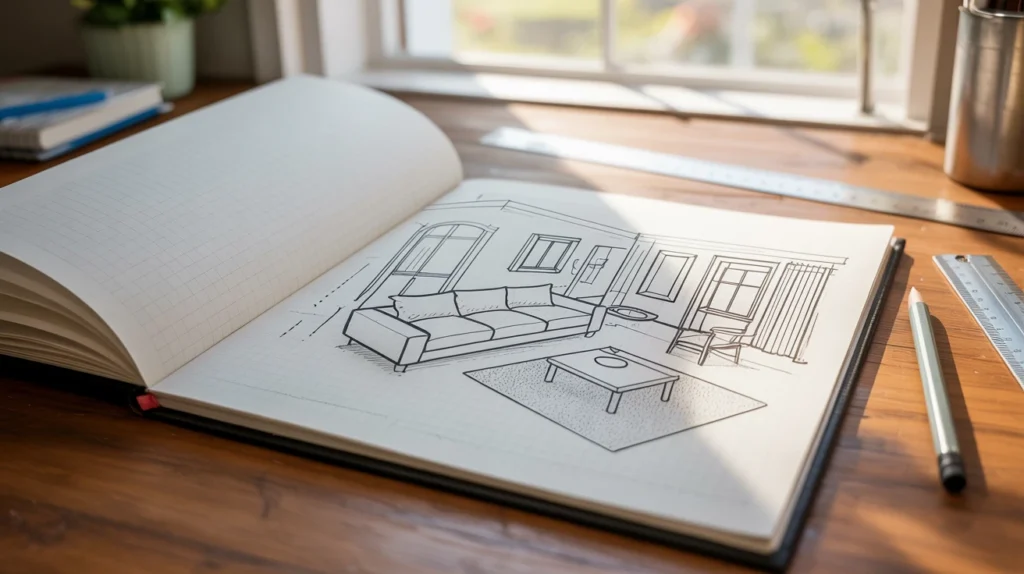
Draw the basic room first. That means walls, ceiling, and floor. Add doors and windows next. Keep details simple at this stage. Focus on straight lines and clean angles. If the room shell is strong, the rest becomes much easier.
A quick trick for doors and windows
Doors and windows look best when they follow the same perspective as the walls. Draw the frame first. Then add panels, handles, and trim. Keep the details lighter than the main structure. This keeps the room from looking busy.
Block in the biggest furniture first
Start with the largest pieces. In a living room, it is often the sofa. In a bedroom, it is the bed. In a kitchen, it is cabinetry and counters. Big pieces set the scale for everything else. They also help you see if the room feels crowded.
How to keep furniture sizes believable
Use height references. A door can anchor height. A countertop can anchor mid-level height. A bed can anchor length. Check spacing between furniture. If two chairs look like they touch, the scene feels tight. If the coffee table is too far, it feels unusable.
Add mid-size pieces and keep the flow clear
After big furniture, add side tables, chairs, shelves, and rugs. Think about how people move. Leave clear paths to sit, stand, and open doors. This is where your interior design thinking shows. A good drawing is not only pretty. It also feels usable.
Add details that make the room feel lived in
Details bring the room to life. Add curtains, pillows, books, plants, and wall art. Use a light touch. Too many tiny details can ruin the calm look. Pick a few focal details and keep the rest simple.
Use line weight to control attention
Line weight is a quiet secret. Thicker lines feel closer. Lighter lines feel farther away. Use thicker lines on the front edges of furniture. Use lighter lines on distant corners and small decor. This adds depth without heavy shading.
Make lighting and shadows simple but clear
Lighting is what makes a sketch look real. Pick one main light source. It could be a window or ceiling light. Decide where the light hits. Add shadows under furniture and along wall edges. Even basic shadows improve the room fast.
Common shading problems and easy fixes
Many beginners shade everything the same. That flattens the drawing. Instead, keep light areas clean. Add darker value only in shadow areas. Another issue is messy shading. Use consistent strokes and follow the surface direction. Wood grain can run along floorboards. Fabric shading can curve with cushions.
Add texture without making it noisy
Texture should support the design. Use simple patterns for rugs and curtains. Add wood lines on floors with restraint. Use a few brick or tile lines if needed. If the texture starts to steal attention, reduce it. A clean drawing usually looks more professional.
Color choices that work for interior sketches
If you add color, keep it limited. Choose a small palette. Warm neutrals make rooms feel calm. A single accent color can highlight pillows or art. Avoid coloring everything with equal strength. Save stronger color for the focal point.
Hand drawing vs digital drawing
Hand sketches feel personal and fast. Digital sketches can look clean and polished. Both are valid. Choose based on your goal. If you want quick ideas, sketch by hand. If you need a neat presentation, digital tools help.
Simple digital workflow that stays natural
Start with a rough layer. Add a clean line layer on top. Use a perspective ruler if your app has it. Then add flat color and simple shadows. Keep effects minimal. Clean structure beats heavy filters every time.
Real user problems and how to solve them
If your sketch keeps going wrong, it usually comes down to perspective, scale, or missing shadows. These quick fixes cover the most common issues.
My room sketch looks crooked
This usually happens when the horizon line drifts or vanishing points move. Fix it by drawing the horizon line first. Keep it straight. Then place vanishing points and stick to them. If needed, extend guide lines and check alignment.
Furniture looks like it is floating
Floating furniture comes from missing contact shadows. Add a shadow under the sofa, bed, and table legs. Also show where legs meet the floor. A small dark shape under objects anchors them.
Everything looks flat
Flat drawings often have equal line weight and equal detail. Push depth with heavier lines in front. Reduce detail in the distance. Add a small value shift on the back wall. Keep foreground edges crisp.
My sizes feel wrong
This is a scale issue. Use one reference size and stay consistent. A door is a great anchor. Compare everything to it. Check seat height, table height, and window placement. Make small adjustments early.
I get stuck on details
Details come last. If you jump to decor too early, the room can fall apart. Focus on the room shell, then big furniture, then mid pieces. Add decor when the structure feels stable.
A simple step order you can follow every time
- Decide the room and viewpoint.
- Draw the horizon line and vanishing points.
- Build walls, floor, and ceiling.
- Add doors and windows.
- Block big furniture with simple shapes.
- Add mid-size pieces and check flow.
- Add details and textures.
- Add line weight, then shadows.
Final tip to make your interior drawings look professional
Do not chase perfection on the first sketch. Draw a rough version first. Then redraw it cleaner. Most strong drawings are second attempts. That is normal. Each redraw trains your eye for proportion, space, and light.