Homes built around 1910 sit in an interesting moment in design. Heavy late Victorian decoration was fading and simpler lines were coming in. Natural timber and built in storage started to matter more than ornate trim. Many houses from this decade still have strong character. The goal today is to keep that character and make rooms bright, practical and easy to live in.
Understanding 1910 Home Style
A 1910 interior sits between late Victorian and full modern style. In many places it was shaped by the Arts and Crafts movement and early Craftsman ideas that valued honest materials and hand worked details. In other regions you also see a touch of Prairie influence and the last years of Edwardian taste.
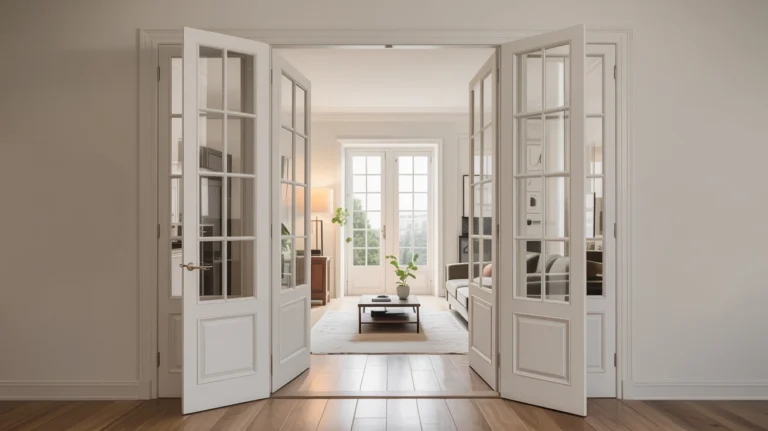
You often find high ceilings, timber trim and decorative glass together with built in bookcases, window seats and room dividers. Electric light and better plumbing were spreading, so room layouts became a bit more practical and daily life moved away from formal Victorian habits.
Common 1910 House Types and Layouts
Across North America and Europe several house types repeat in this era. Craftsman and Arts and Crafts bungalows with low roofs and wide porches grew in number. American Foursquare homes offered a simple box with four main rooms on each floor. Farmhouses and cottages from this time often mixed older shapes with new built in details.
Inside, most plans still used separate rooms but with wider openings. Columns, half height bookcases and timber arches often marked the step from hall to living room or from living room to dining room. Kitchens and bathrooms stayed modest in size but were more standard than before. The idea was a compact plan that felt easier to move through.
Original Features That Give 1910 Homes Their Character
The most valuable parts of a 1910 house are usually the fixed details. Ceilings can still be quite high, though often a little lower than in grand Victorian rooms. You may see simple coves, shallow beams and modest plaster lines instead of heavy cornices. Trim around doors and windows is often wide and flat with clear edges. Skirting boards are tall enough to give weight without looking fussy.
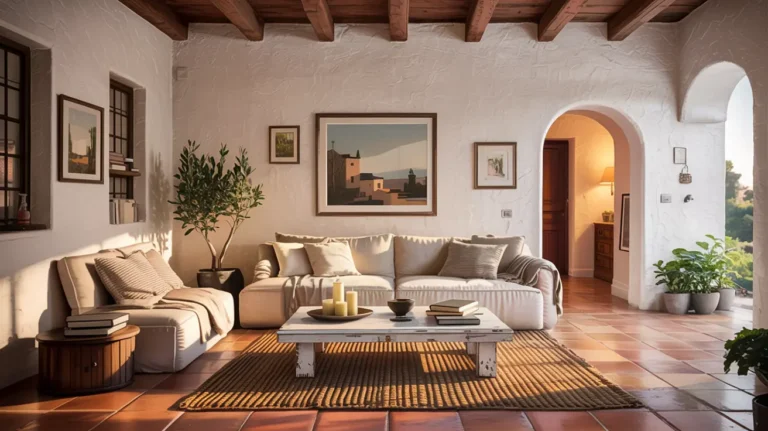
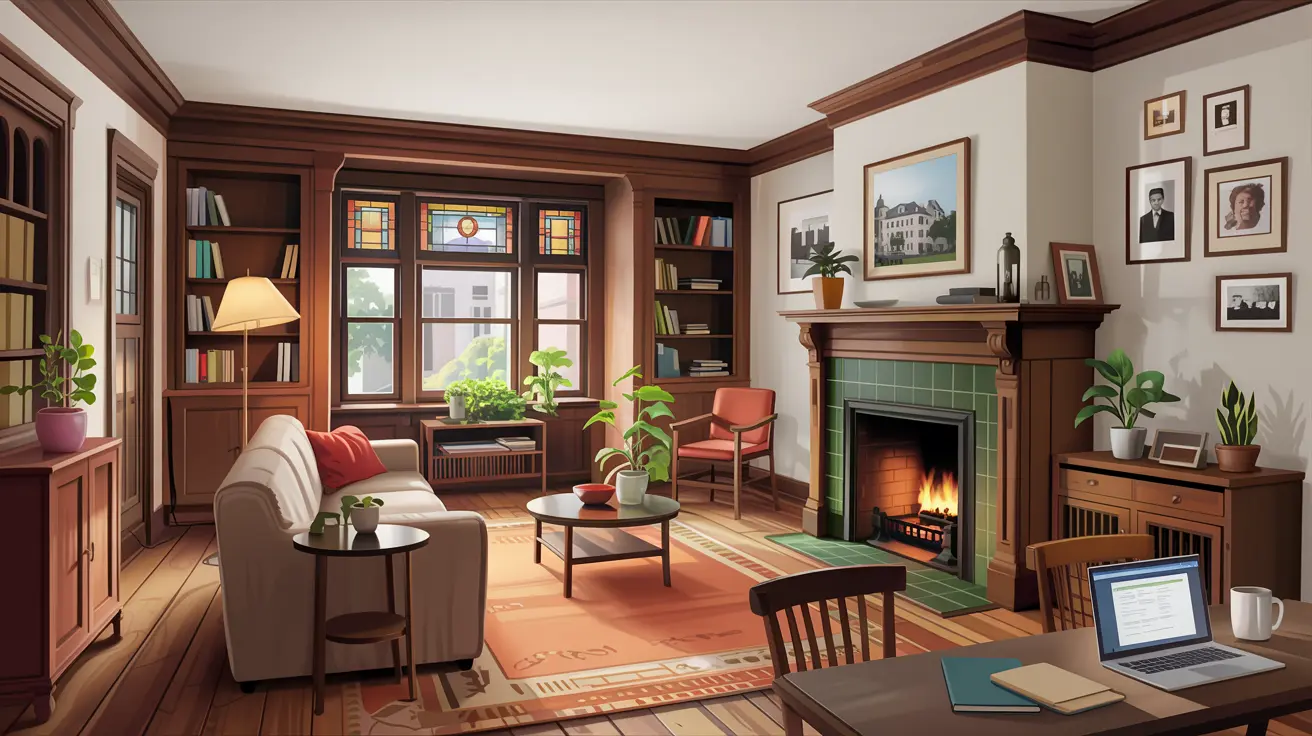
Built in features are one of the strongest signs of this decade. Many houses have bookcases beside a fireplace, benches in bays or under windows and sideboards built into dining rooms. These details were meant to make daily life smoother and today they are seen as hallmarks of Craftsman and Arts and Crafts homes. Keeping them, even if you repaint them, helps the interior feel true to its age.
Windows from this time often have timber frames and some include decorative leaded glass in the upper panes. You may notice simple geometric designs or gentle curves. Interior doors tend to be solid timber with simple panels and traditional handles. When these pieces survive they add quiet depth that is hard to copy with new work.
Fireplaces remain strong focal points in many 1910 rooms. Surrounds are often brick or tile with a straightforward mantel shelf rather than heavy carving. In farmhouses stone appears as well. When you restore these it usually makes sense to keep the basic shape and adjust colour or tile rather than replace everything.
Colour and Mood in 1910 Home Interiors
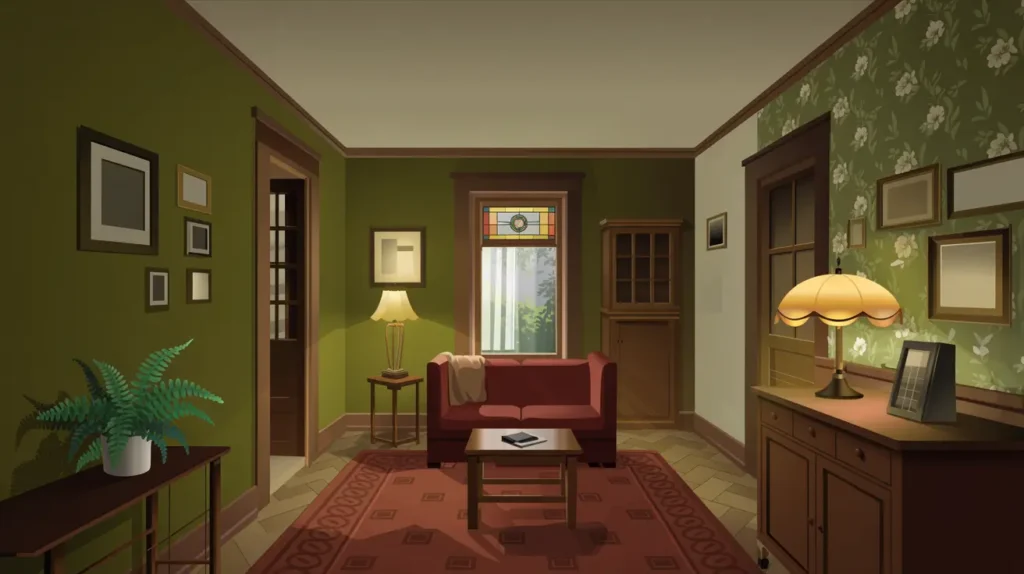
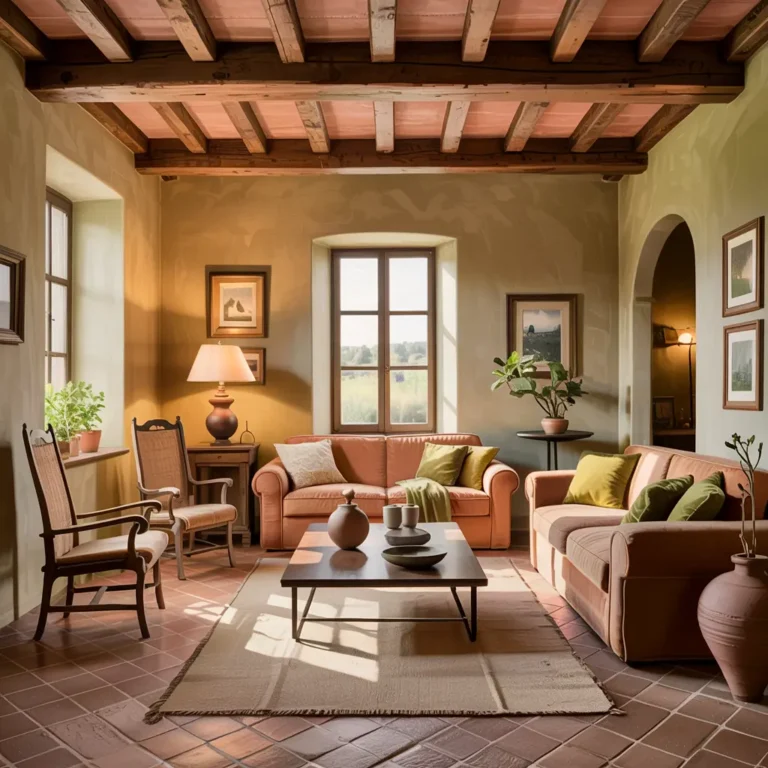
Colour guidance from the early twentieth century leaned toward earth tones and nature inspired shades. Paint charts and pattern books from the 1910s often show olives, soft greens, warm browns, clay reds, mustard and deep blues with muted creams. The aim was to bring garden and landscape colours indoors and support timber and stone.
In a modern home you can use this palette in a softer way. For example, choose warm cream for walls and use a deeper green or brown on trim. In dining rooms or studies you can lean into darker shades like brick red or bottle green since those spaces feel most alive in the evening. For small or dim rooms use lighter versions of these colours or keep the stronger tones on trim and lower walls with off white above.
Patterns, Materials and Surface Finishes
Wallpaper did not disappear in 1910 but it became calmer. Arts and Crafts influence brought stylised leaves, flowers and simple repeats instead of very dense patterns. Some houses used wallpaper in only one or two rooms and relied on paint, panelling and borders elsewhere.
Walls often mixed paint with timber. Wainscoting, tongue and groove boards or beadboard protected lower sections in halls, dining rooms and kitchens. Above that, paint or a light patterned paper added interest. This approach still works and helps tall rooms feel more grounded.
Floors in living areas and bedrooms were usually timber. Oak and fir appear often in interiors from this time. In kitchens, halls and bathrooms you may find mosaic tile, small hex tile or early subway tile, especially in houses shaped by Craftsman and Prairie ideas. These surfaces now feel classic and many people choose similar materials in new work.
Metal finishes tend to be warm. Brass and bronze and darker metals suit door handles, light fittings and window hardware. Keeping these finishes consistent across a floor helps the interior feel calm and deliberate.
Furnishing a 1910 Home Today
Furniture that suits 1910 features is often simple and well made. Mission and Arts and Crafts pieces with clean lines and visible joints sit well with built in bookcases and strong timber trim. Farmhouse tables, straightforward wooden chairs and sideboards that show grain instead of high gloss also feel right for this kind of house.
You do not need to fill every room with period furniture. A balanced mix usually looks better. For example, a modern sofa in a plain fabric can sit beside one or two older wooden chairs and a vintage sideboard. The built in elements and trim carry most of the historic story so newer pieces can stay quiet and comfortable.
Lighting needs careful thought in these homes. Around 1910 many houses moved from gas to full electric fittings. Today, simple pendants, schoolhouse style shades and modest wall lights feel natural for this period while still meeting current needs. Use several lights in each room so you can shape the mood rather than relying on one central fitting.
Textiles soften the whole picture. Flat woven rugs and kilims work well on timber floors. Runners in halls add colour and protect boards. Curtains can be linen or cotton in a warm neutral or gentle colour drawn from the rest of the room. The aim is comfort and warmth rather than strict historical copying.
Room by Room Guide to 1910 Home Interiors
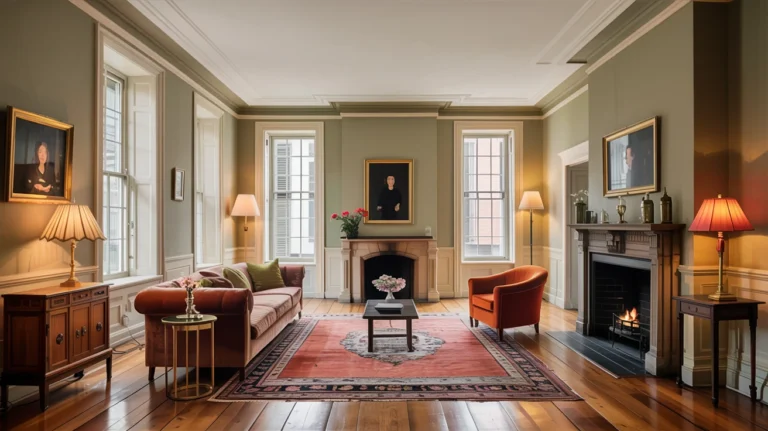
In the main living room start with the fireplace and any built in pieces. Arrange seating so people can see each other and the fire without blocking routes to doors or windows. Place a large rug under the main group and choose a wall colour that flatters the timber rather than fights it.
In the dining room a solid table and comfortable chairs come first. Many 1910 houses have a built in sideboard or dresser on one wall. Treat this and the table as the two main anchors. A pendant over the centre of the table, with softer lighting at the sides, gives the room an easy evening glow. Deeper colour often works here because the space is used more at night.
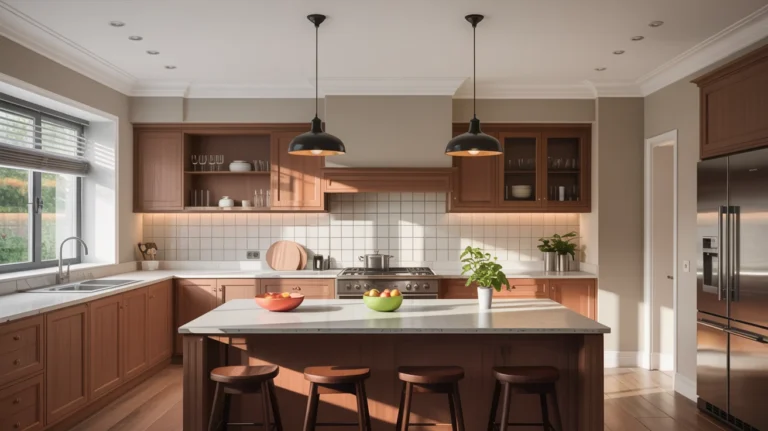
Kitchens from this era are usually small but can be very practical. Instead of forcing a very open plan it often works better to accept the compact footprint and plan it well. Use cabinets that reach the ceiling, simple tile for splashbacks and colours that link to the rest of the house. Open shelving or glass front cabinets can echo older hutches while still offering good storage.
Bedrooms in early twentieth century homes were generally simple. You can keep that spirit with a modest bed, a chest of drawers or wardrobe, bedside tables and a rug. Choose calm colours and one or two patterns at most. Place the bed so that it works with windows and doors and leave space to move around it without squeezing.
Bathrooms and cloakrooms are good places to use classic tile. Mosaic floors, small hex tiles and white or coloured subway tiles all suit the period. Combine them with straightforward fixtures and keep storage built in or wall hung so the rooms stay open and easy to clean.
Preserving Original Details in a 1910 Home
Before any big work, walk through the house and list every period feature. Built in cabinets, bookcases, window seats, timber trim, doors, glass, floors and tiles all belong on that list. These elements are hard to replace once removed.
Timber can often be repaired rather than thrown away. Loose trim can be fixed. Scratched floors can be sanded and treated with oil or a clear finish. Painted wood can be cleaned and, if safe, stripped and then either stained or repainted in shades that suit your plan.
Plaster often responds well to patching. Fine cracks are common in older homes and do not always require full replacement. Original tiles in halls or bathrooms may clean up well with gentle products and sealing. Stained and leaded glass can often be repaired and, where needed, protected with a clear outer layer.
Updating a 1910 Home With Respect
When you plan changes treat the original structure and key features as fixed points. Work around chimney walls, built ins and window layouts instead of flattening everything. This helps the house keep its rhythm and prevents it from feeling like a generic shell.
Paint choices can transform the mood. Many owners keep ceilings and coves light, paint walls in middle tones and highlight trim and doors in a slightly deeper shade. This approach brings out the craft in the woodwork and still keeps rooms open.
New kitchens and bathrooms can still feel right for a 1910 house. Simple cabinet fronts, classic tiles, warm metal finishes and quiet colours bridge past and present. Try to respect structural walls and existing window positions where you can.
Storage often worries people in older homes. Instead of building large wardrobes in every room, think about shallow cupboards in halls, storage under stairs and fitted joinery in alcoves. This keeps main walls clear and preserves a sense of space.
Budget Friendly Ways to Strengthen a 1910 Look
You can support the character of a 1910 house without spending heavily. Paint is usually the strongest first move. A new colour on walls and trim can reveal details you had stopped seeing and link rooms together.
Next, look at lighting. Swapping a few out of scale fittings for simple pendants or schoolhouse shades changes the feel at once. Add table and floor lamps where you can so you have more than one way to light a room.
Rugs protect floors and add warmth. Pick sizes that allow at least the front legs of key furniture to sit on them. Curtains, blinds and cushions in natural fabrics soften rooms and fit the earth based palette.
Second hand shops and online markets are useful when you want mirrors, side tables, cabinets and chairs that feel right for the period. Older pieces often sit better with original timber than shiny new items.
Common Problems in 1910 Homes and Simple Fixes
Many owners feel their 1910 house is dark. Often this comes from strong wall colour, dark trim, heavy curtains and limited lamps all at once. Lightening just one or two of these can change the mood. For example, keep the trim natural, repaint walls in a lighter tone and use simple window treatments that allow more light in.
Small kitchens and narrow halls are another frequent worry. Here, careful planning matters more than big structural changes. Slim storage, light colours, simple flooring and good lighting can make these spaces much easier to use.
Dark wood can feel heavy if you like a lighter look. Instead of stripping every surface you can keep key elements such as stair rails, built ins and door casings and paint secondary pieces. This keeps the house grounded while easing the overall weight.
Older houses can also feel awkward for modern life. Rather than forcing a full open plan, consider partial openings, wider doorways or built in seating and storage that work with the existing structure. This approach respects the house and still supports how people live today.
First Steps for Working With a 1910 Home
Start with a slow walk through your rooms. Notice the details that make your house feel different from a new build. This might be the front porch, a stair rail, a fireplace, some glass or the way the trim looks. Choose the three features you value most and decide to protect them.
Then set a clear direction for colour and materials based on those features. Work on one or two main rooms first so you can see what suits the light and your routine. Bring in new furniture and decor slowly and choose pieces that sit comfortably with the house instead of fighting it.